 |
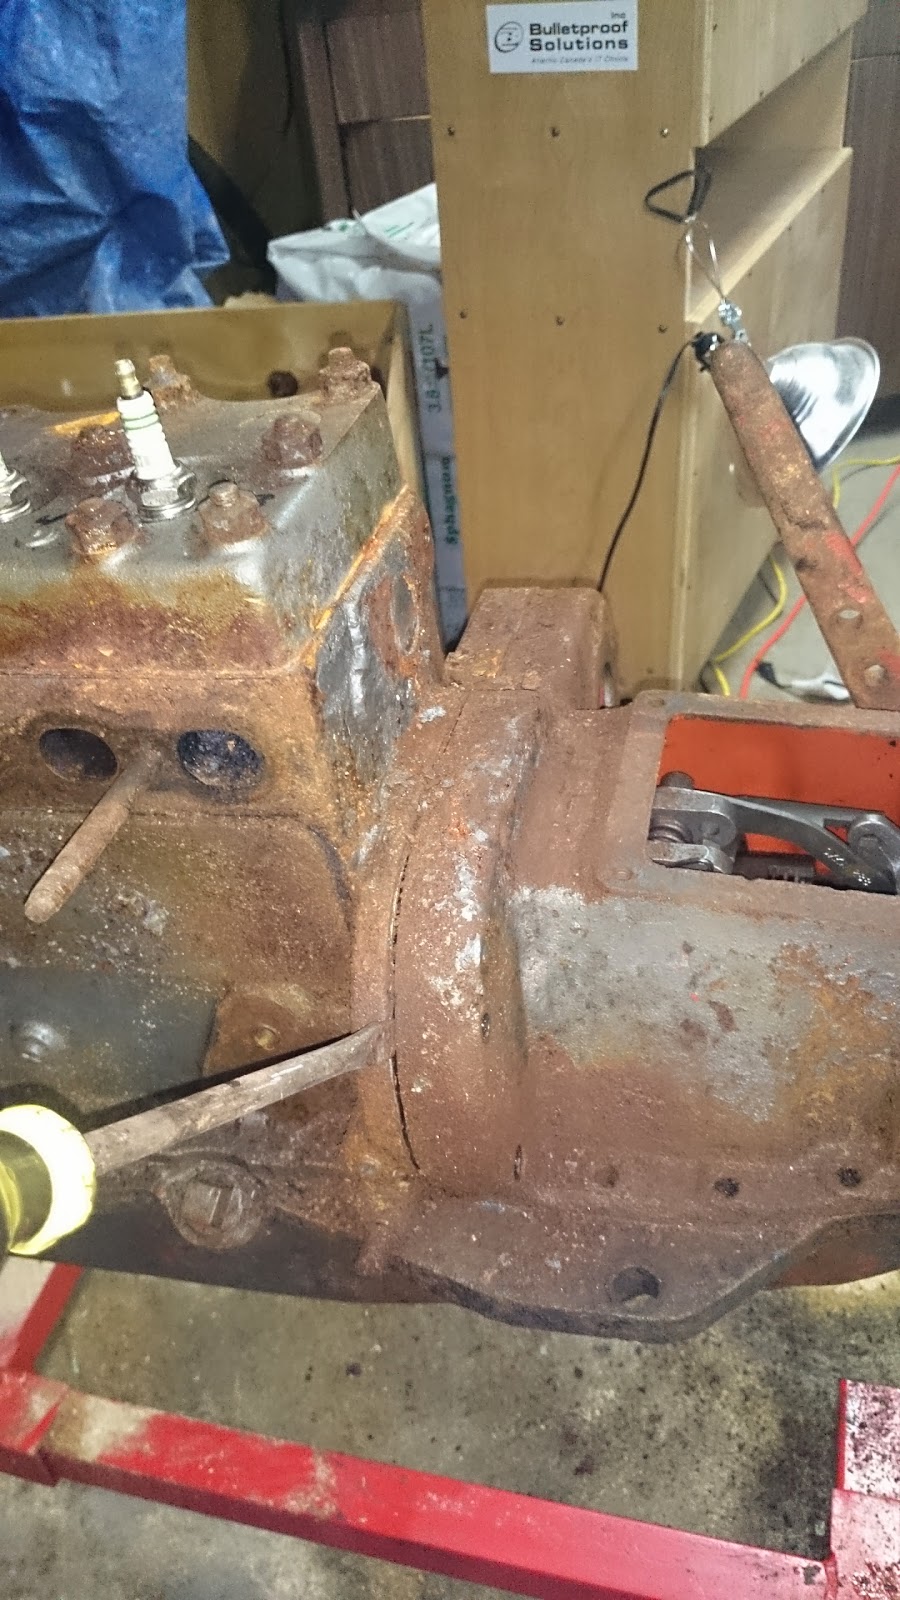
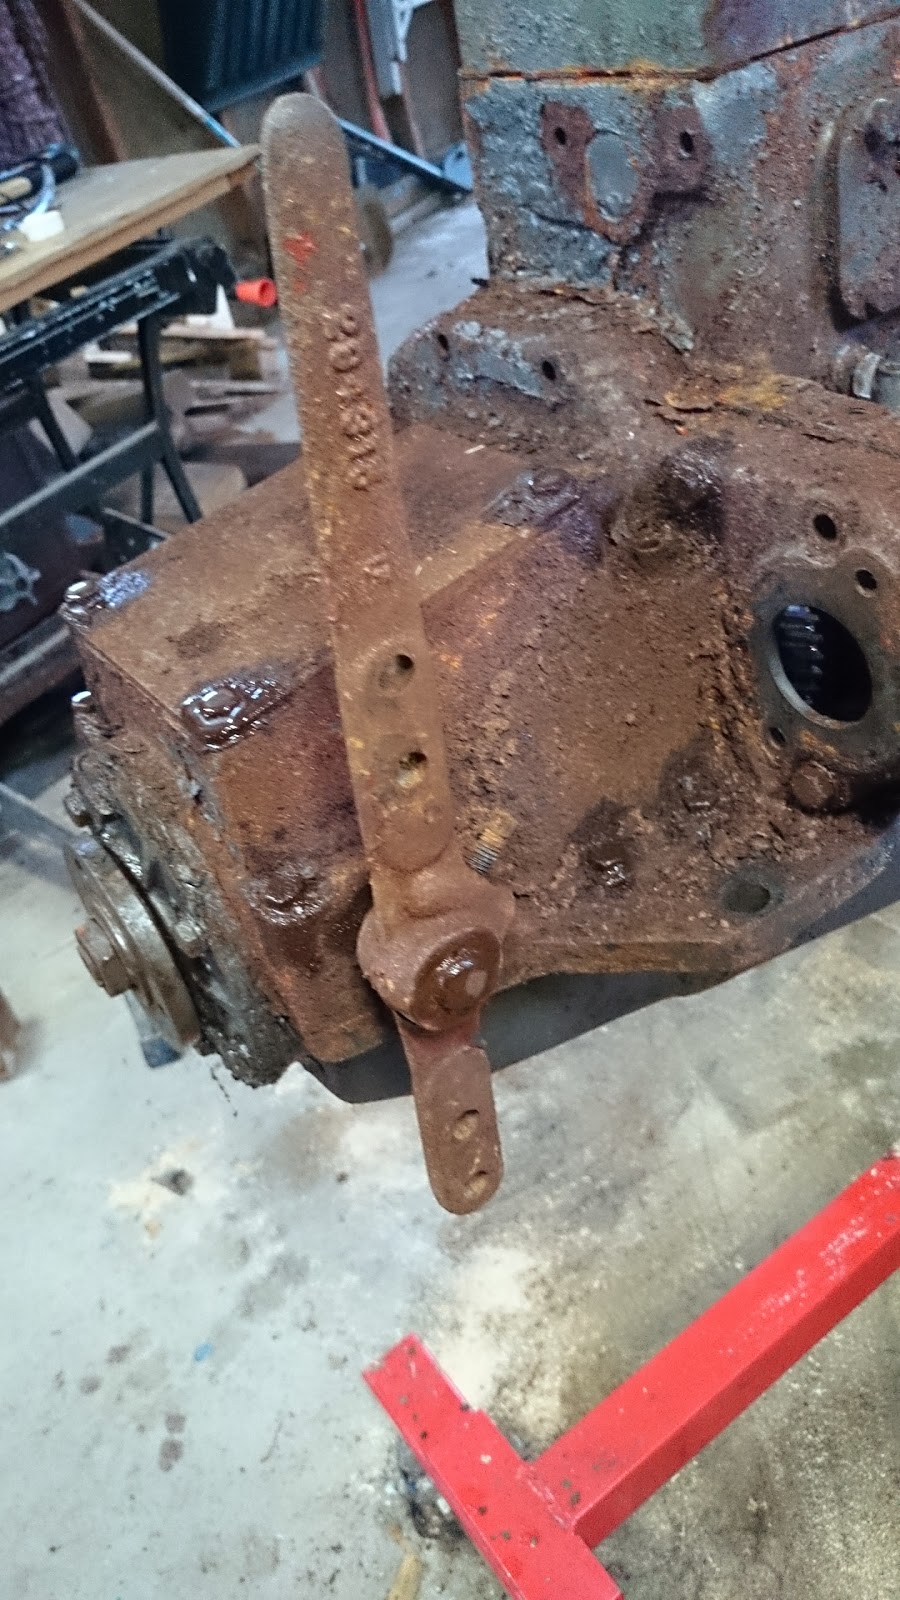
| Transmission - Pre-dissasembly |
I removed the four 3/4" bolts (1/2") holding the transmission cover, exposing the transmission.
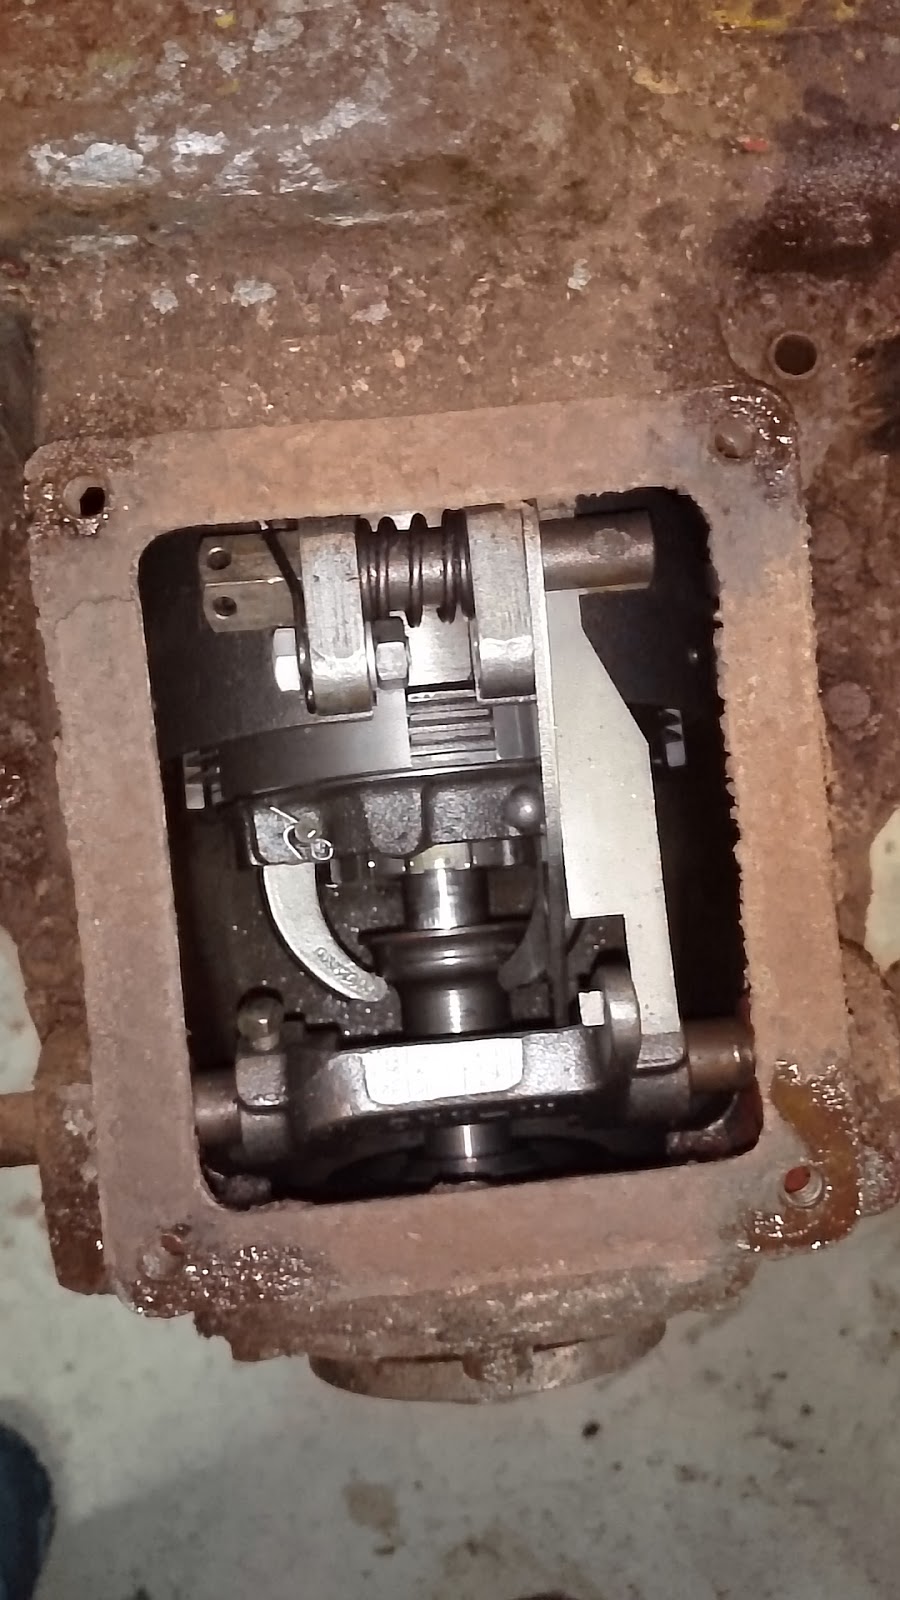 |
| Cover plate removed |
 |
| Rear of transmission before removal |
I have since discovered that I should have first removed the tail shaft nut first.
Removing the transmission housing was difficult, as it was securely stuck by gasket goop and decades of rust.
I first removed the ten bolts holding it in place. These include four 1 7/8" (1/2"), two 2 5/8" (1/2"), and six 3/4" (1/2").
I was apprehensive about beating too hard on any particular piece because I wasn't sure how solid they were. In the end I used a knife, large screw driver and hammer to poke, pry and beat the housing until it dislodged. No damage done. (except the gasket)
Removing that nut is now much more difficult (I haven't actually figured out how to do that yet) since the nut spins on the bearing (surprise surprise).
I thought it would be easier to find something to pry on once I removed the whole housing and transmission. Not so much...
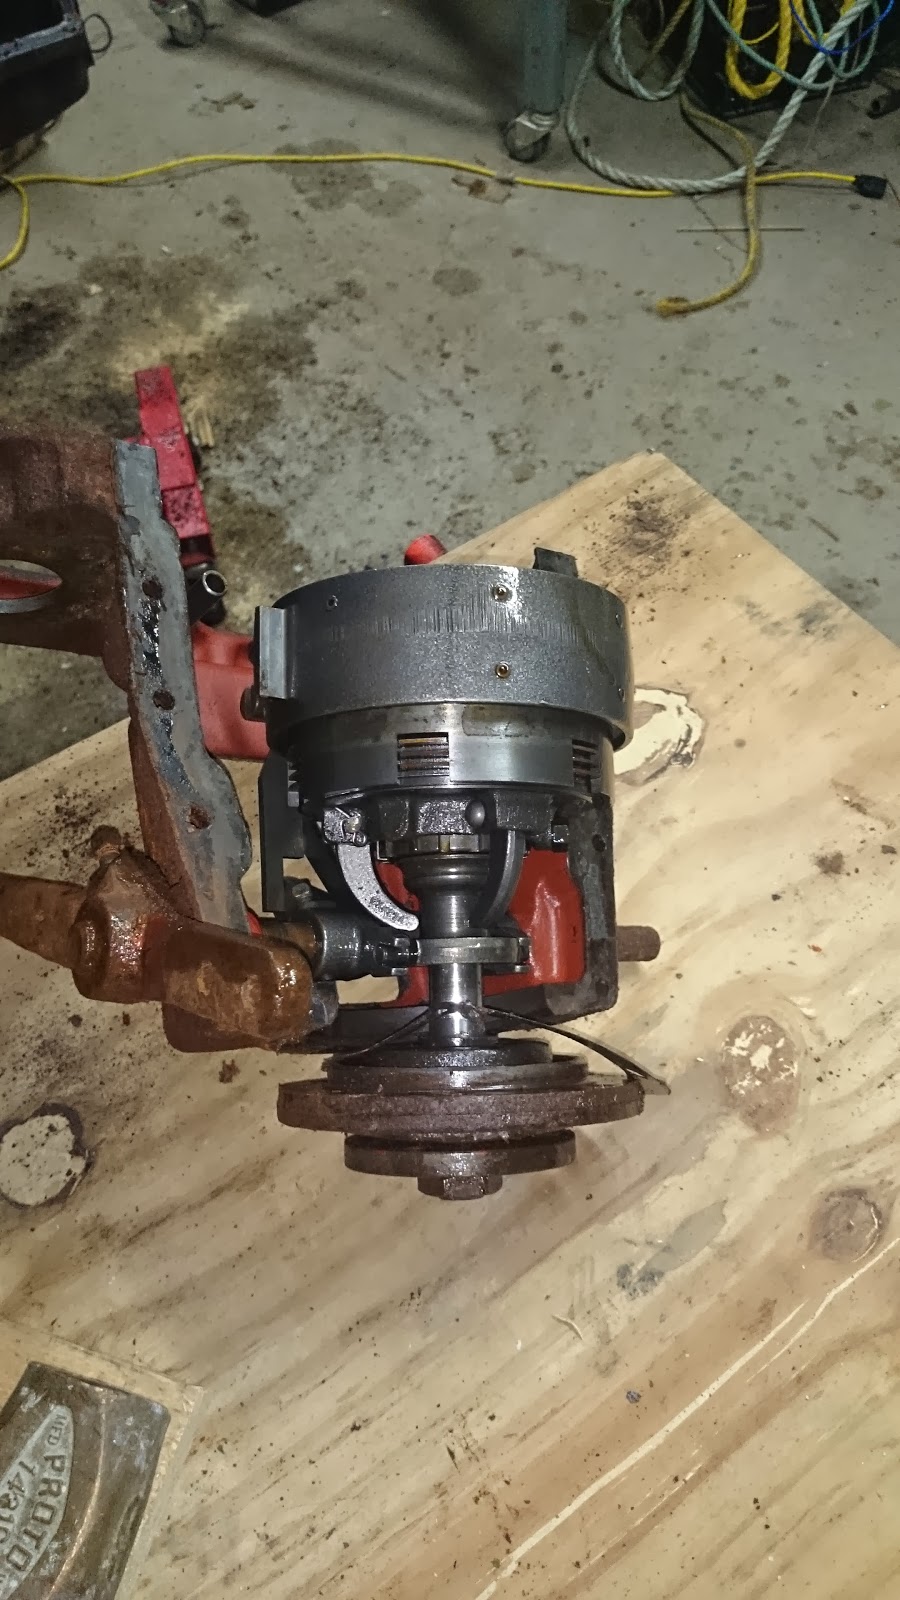 |
| Housing and transmission removed together |
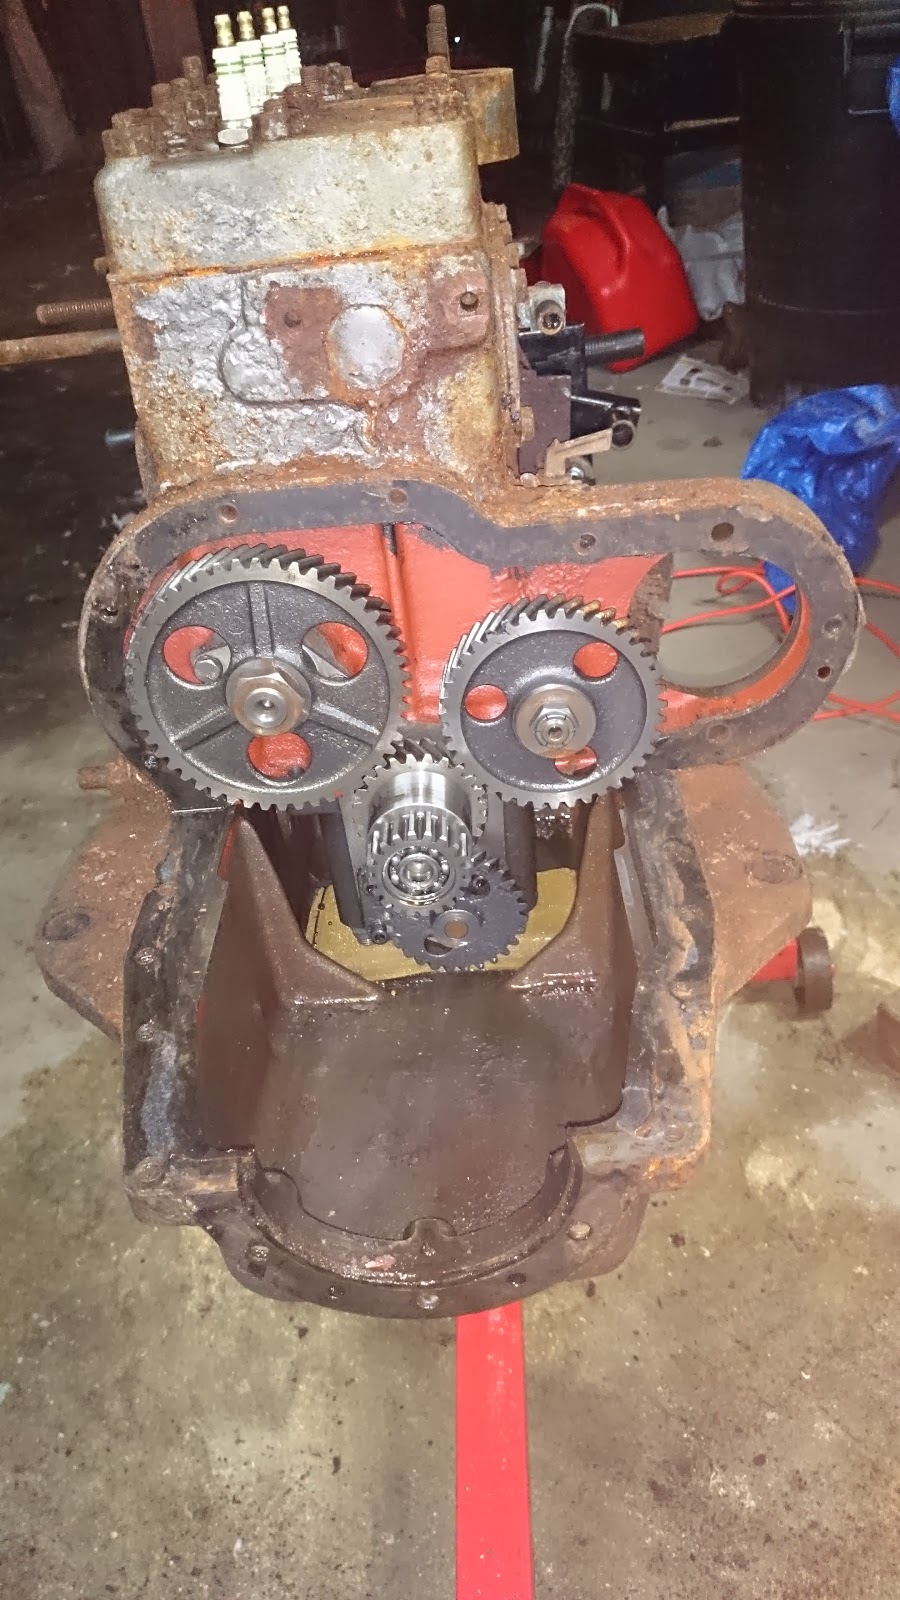 |
| Atomic 4 without transmission |
[All of the posts associated with this rebuild are available under the search label Atomic 4 Rebuild.]

