Wednesday, December 24, 2014

Shackleton II - Best Christmas gift ever


After searching for 6 months we have decided and are in the final stages of completing the purchase of a new boat.

Shackleton II is a C&C Landfall 38. She is a beauty!

I look forward to many new adventures with this boat. I believe that she has the capability to take me anywhere. Now I just need to figure out where that is and get to it!

Of course, being the geek that I am, I have created a new site to track specific Landfall 38 resources. My hope for the site is that it can be a resource for others who own or who are buying Landfall 38s. I haven't found another user group site for this boat so I hope that others find it to be a useful resource.

Check it out at http://landfall38.com


Sunday, November 2, 2014

The perfect cruising boat - My shortlist

The solution to two-foot-itis?
I have recently come down with a severe case of two-foot-itis. Salammbo, our Hughes 29, has been a wonderful boat for our family and has whet our appetite enough that we are now looking for something bigger.

When I broached the subject with my wife, her reaction was "I don't want to do this for a couple of feet, if we're going to do it, let's do it." Yes, she is awesome. With that in mind, we have refined our search to include only boats that will keep us comfortable for many years of cruising.

I have set out these criteria for our new boat:

  1. Price - Always a factor... we'll be looking at older, used, boats to fit this criteria. My preference is a boat that is good value for the money. I don't mind putting sweat equity into a boat to clean it up and improve it's capability. 
  2. Pretty -  Yes this is subjective, but I don't want an ugly boat! I prefer classic lines on a boat.
  3. In the 35' to 40' range (15,000lbs - 25,000lbs displacement) - This is the general range that fits our budget and space needs. Larger boats would be more expensive for ongoing maintenance and harder to short hand. Smaller boats are too cramped for us.
  4. Solidly built - offshore capable - We don't plan to spend a lot of time offshore but we will want to do limited offshore passages. 
  5. Suitable accommodations for 4 adults for limited duration- Us and our two, quickly growing, kids
  6. Suitable accommodations for a couple to cruise indefinitely - Empty nest planning
  7. Good short handed capability - My wife likes to take a less active role in handling the boat. My ability to short hand is important. 
  8. Fuel capacity (>40 gallons) - Enough fuel for several days of motoring if the wind doesn't cooperate. Our local cruising grounds tend to be less favorable to sailing. 
  9. Water capacity (>80 gallons) - Should keep us going for a week or two at a time without having to worry about consumption too much. We currently do well with 15 gallons for a week of cruising. 
  10. Hot/Cold water and shower - Cleanliness is next to godliness, right? Crew happiness is important!
  11. Sail-away condition suitable for short duration coastal or river cruising - I don't mind a boat that needs work (they all do!) but, given the short duration of a New Brunswick summer, the boat needs to be usable right away. I'll get to the projects the first winter.
  12. Shallow draft - Less than 5' 
  13. Good anchoring setup - We prefer anchoring over mooring since it is more suitable to our anti-social cruising habits. A good anchoring setup makes life easier.
  14. Reasonable performance under sail and power - I don't need a racer but would like something with reasonable performance.
With this in mind, I have come up with the following shortlist of boats that might meet our requirements, depending on how they are equipped. This list will undoubtedly grow as I find more that I like. Links are to posts about my impressions of the boats before and after viewing:

  • Allied Mistress 39

  • Allied Princess 36

  • C&C Landfall 38


  • Hughes 38

  • Pearson 365

  • Pearson 36

  • Niagara 35

  • Endeavor 37

  • Seafarer 38


Do you have a boat in mind that meets these criteria that should be added to the list? Comment below, I'd love to hear about it.

Monday, September 15, 2014

Stackable washer mod

Washer top with mounts added
About 10 years ago we bought a stack-able 4.3 cu ft Kenmore front load washer. We also bought the matching dryer.

Fast forward 10 years and we have had to replace our washer because of a laundry list of problems (sorry for the pun!) The dryer is doing fine (after a bearing replacement last spring).

The issue is that apparently the designers at Sears have not maintained compatibility between the old and new machines so that they can be stacked. The conspiracy theorist in me believes that this was design obsolescence! I won't be foiled that easily!

I removed the old mounting kit, from the previous washer, and simply screwed them onto the top of the new washer.

My wife was a little perturbed when I was using a drill on her new machine but she was duly impressed and relieved when they fit together like a hand in glove.

So, don't believe the sales guy when he tells you they can't be used together.

Wednesday, September 10, 2014

A wet evening racing

One of the best Wednesday night races I can remember. Warm, heavy rain and great wind.
Wednesday night race - Grand Lake, NB

Tuesday, August 5, 2014

Cruising Saint John to Digby

Saint John Reversing Falls
While I have done some cruising in the Bay of Fundy previously, I had never crossed the Bay. There isn't any good reason to be apprehensive about this type of trip, since it isn't any more complicated than going up the coast, but the sheer distance offshore was a daunting thought for me and I was nervous.

We planned to do the crossing on Saturday, July 26th and come back on  July 29th.


Market Slip
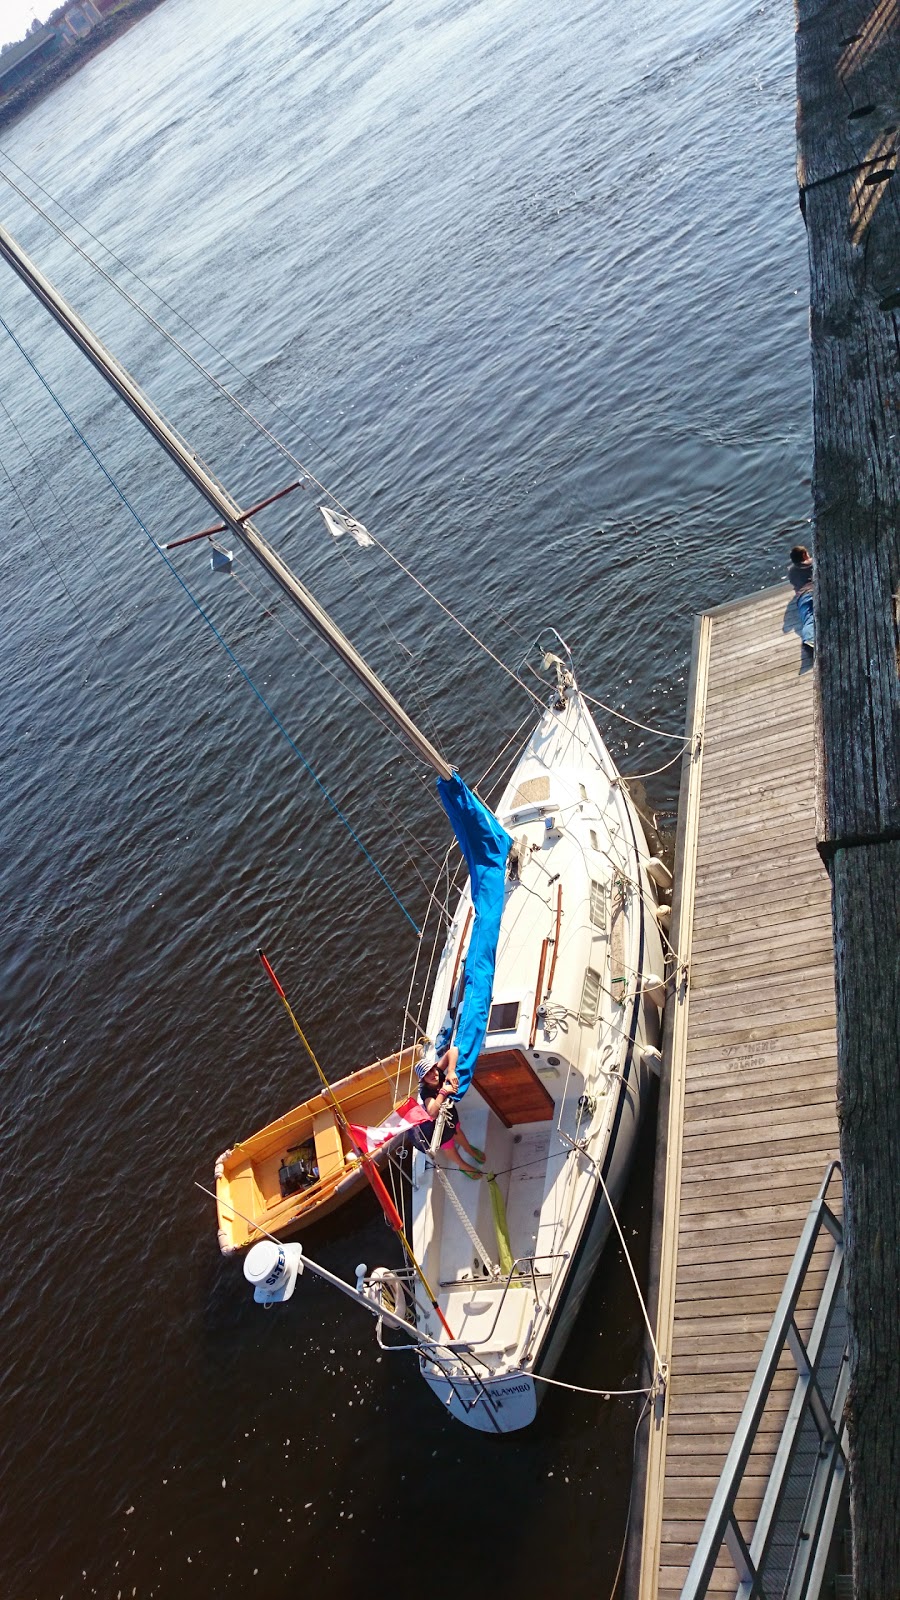
Market Slip
Market Slip
Since we had some schedule restrictions, and because of the tide times, we had to traverse the Falls on Friday and stay at Market Slip until Saturday morning. We traversed the Reversing Falls on Friday afternoon at 2:15pm. 

Initially our stay at Market Slip was reasonable. It is a convenient location and the docks are beautiful. As anybody who has stayed at the Slip for any amount of time will know, it did not stay that way. Since Market Slip has zero protection from inbound waves, it is a VERY uncomfortable resting spot. In fact, resting isn't at all what we did...

Side note, I have since written a letter to the mayor of Saint John to plead for improvements to this slip. It could be such a great feature!


The Crossing to Digby
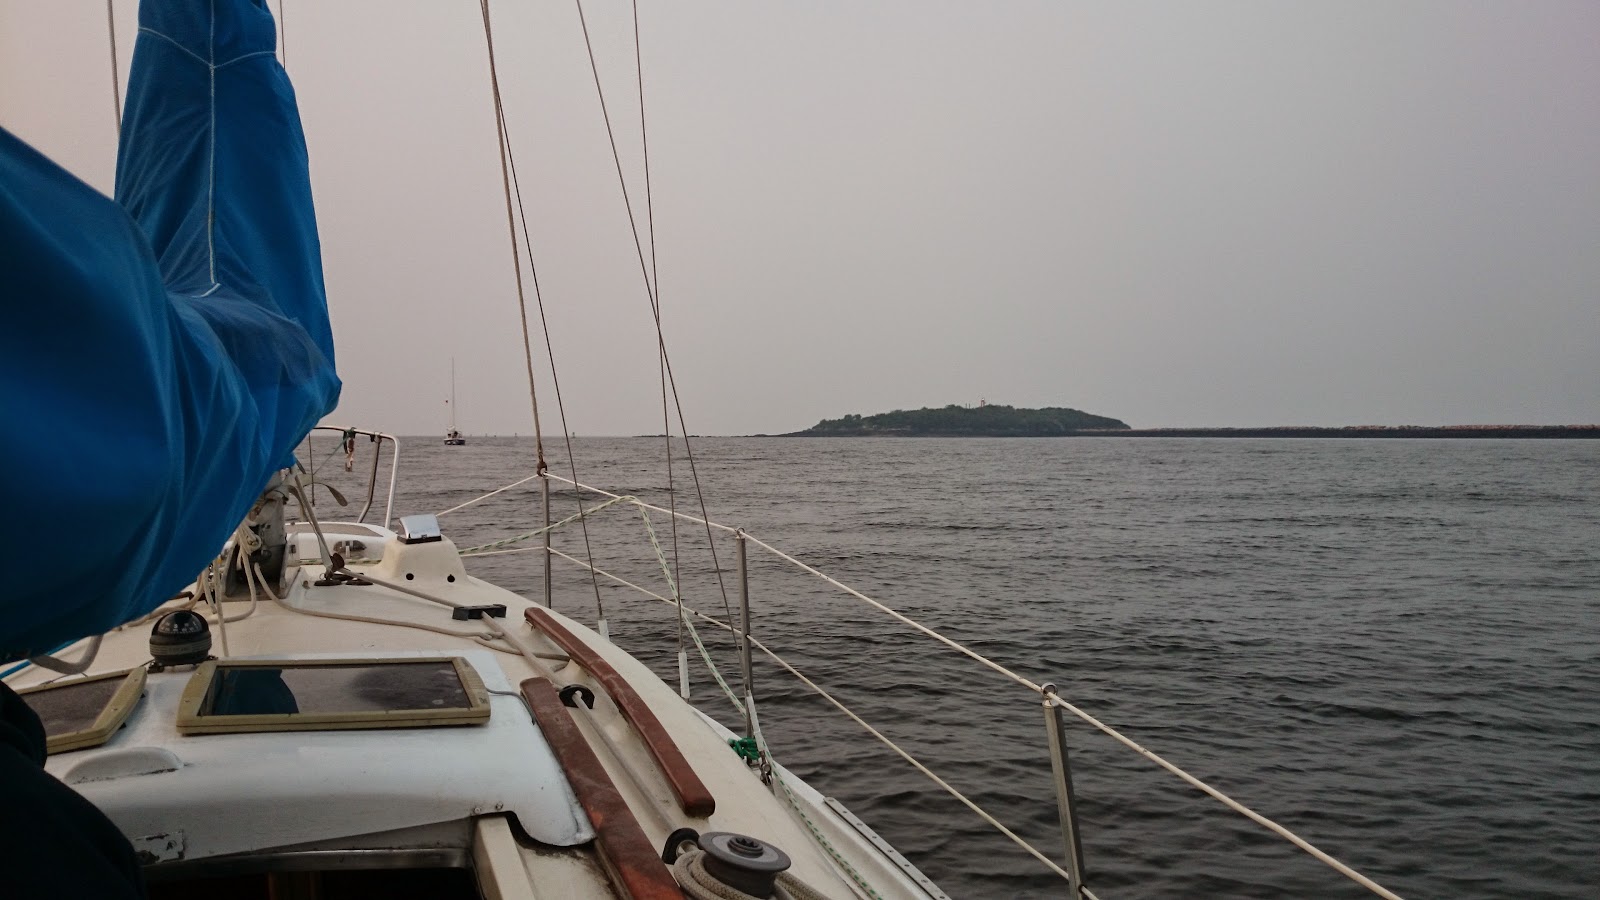
Partridge Island
Partridge Island
We left Saint John at 6am on Saturday with an estimated travel time of 10 hours. The wind was southerly at 15km/hr and gusting to 25 km/hr.

There were a few hours, as we approached Nova Scotia, where the winds came up and gusted to 38km/hr and the seas were higher (maybe 2m). This was a little less comfortable, but still reasonable, and I was able to maintain good boat speed motor/sailing with my #2 genoa and main sails up. As we approached Digby Gut the wind came up more (gusts to 42 km/hr) and I lowered the main entirely. I would have reefed had I had more time before the Gut but it didn't seem worth the effort.

My track across the Bay followed a near perfect sign-wave with the tides. We ended up approaching Digby 6Nm NE of Digby Gut.

I had originally planned to wait outside of Digby and sail around until the tides were favorable for the Gut, however, since the Bay was getting rough and windy I decided to try making it through the Gut against the tide.

Digby Gut has currents of up to 5 knots. We experienced those. We were motor sailing at 6 1/2 knots and it took us almost 1 1/2 hours to get 3.5km through the Gut. The western side of the Gut was wild looking with rollers from the Bay standing up on the outgoing tide flow. I'm glad we were able to stay to the other side!

The approach to Digby was easy and uneventful. The Annapolis Basin is beautiful and was a well protected treat after being on the Bay.

Digby

Digby is a wonderful little town with great facilities. 

RWNYC Marina
RWNYC Marina
The Royal Western Nova Scotia Yacht Club has a great dock system with full power and water hook-up. Gas is available on the docks as well. A quick call to the dock master got us set up for a stop-in and they were great hosts during our stay. 

Protection at the club docks is great. There is some noise from the commercial boats but nothing unreasonable.

The marina is located right downtown in Digby and allows for easy access to restaurants, treats and supplies. Several marine supply stores are close to the marina.

Showers are available a short walk up the road in a municipal building. They are coin operated, clean and well serviced. 

If you need more supplies there are grocery stores and a hardware store within a 20 minute walk. Taxis are also available in Digby and surrounding area.
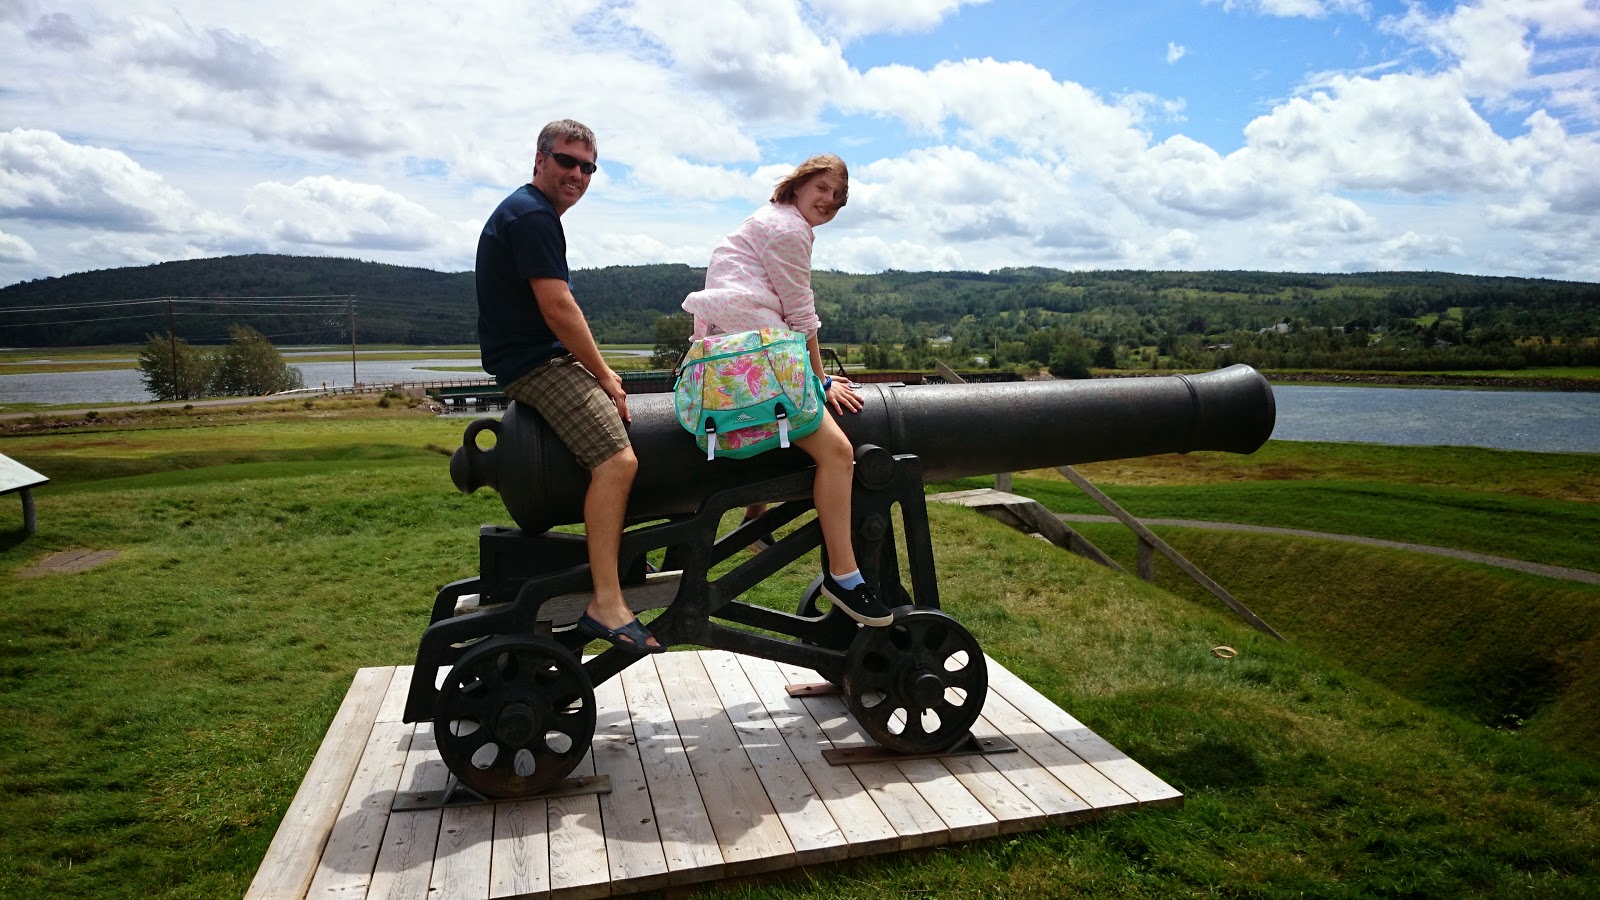
 
Annapolis Royal
Annapolis Royal
 Annapolis Royal is a wonderful community that can be reached by sail (2 hours up river) or by transit. Since we had a storm the day of our trip to Annapolis Royal we chose the bus route instead of sailing. the transit system is easy and cheap.


Upper Clements Park is a nice place to visit if you have children (or if you like rides yourself). This amusement park is really well layed out, has some fun rides and is reasonably priced. The rollercoaster is a bit of a neck breaker, you've been warned. The flume is great fun!

We took a taxi to the park since the transit doesn't run on the weekends.


Upper Clements Park
Upper Clements Park

Digby to Saint John

We planned our trip back to Saint John for Wednesday morning. An early 6am departure was planned in order to make use of the outgoing tide and so that we could catch the Reversing Falls in Saint John 

The sail back across was beautiful until approximately 15 Nm offshore when we hit a wall of fog. The rest of the trip was by radar since we had zero visibility. 

Beautiful day on the Bay of Fundy

We arrived in Saint John at around 1530 and were well positioned for a 1719 traversal of the Falls after another quick stop at Market Slip.

Overall this trip was very enjoyable and I would certainly recommend it to someone who wants to try venturing a little further out into the Bay.

Have you done this trip? How was your experience? Comment below!

Monday, August 4, 2014

Saint John Reversing Falls

For those of us that don't have a lot of experience going through a significant water feature, like the Reversing Falls, it can be daunting. The first time I went through the Falls I thought I was going to vomit in anticipation! It really isn't that bad though. Once you have done it a couple of times it will be one of least concerning parts of your journey.
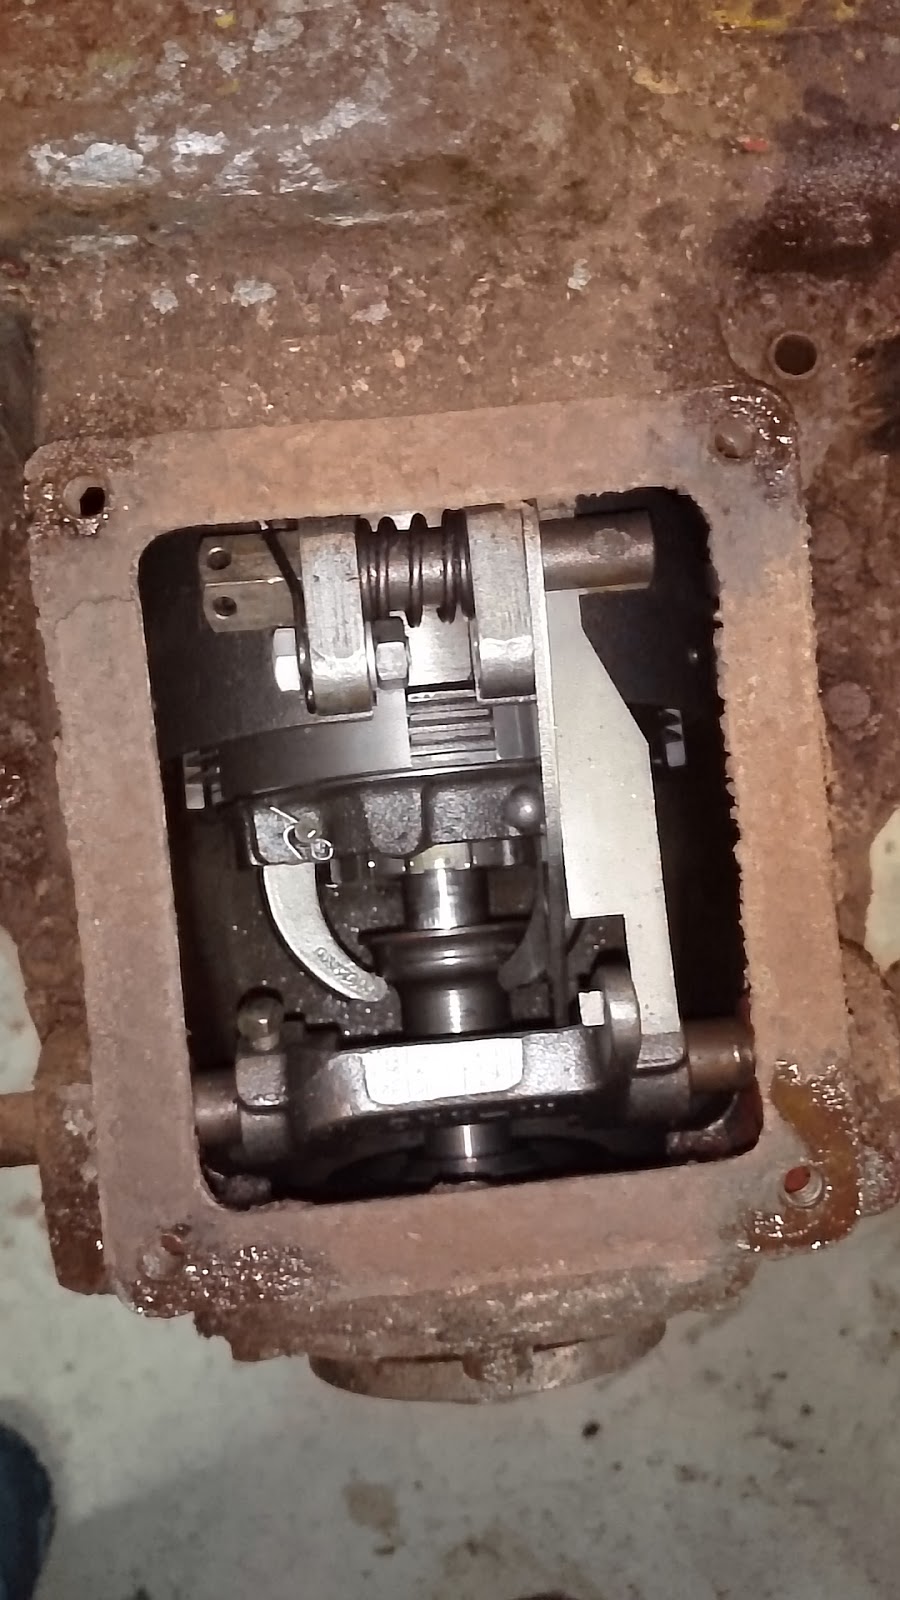
Introduction

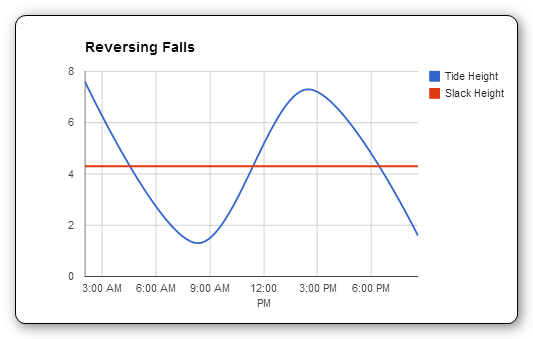
Reversing Falls tide chart exampleThe Reversing Falls result from the 14' difference in water level between the St. John River and the Bay of Fundy. (28' in total change)

Twice per tide cycle the level of the river and the level of the bay are equal and allow for a safe traversal for approximately 10-20 minutes. The timing of this slack tide will vary somewhat depending on the level of the river during flooding or low water conditions.

Generally, in normal water conditions, the slack tide occurs at:
  • Low slack, add 3 hours and 50 minutes to low tide
  • High slack, add 2 hours and 25 minutes to high tide
I have documented this year's slack tide times here for your reference.

If you are unsure about slack times, or want confirmation of the times, Fundy Traffic (on VHF channel 12 will usually confirm times).

Navigation

From the River

The Reversing Falls are accessed via The Narrows at the south east end of Grand Bay. This is a ~4 km narrow channel that starts around 45.285376, -66.120209.  The channel is easy to navigate but can have a reasonably strong current.

If coming from RKYC, a distance of approximately 10km,  the travel time (at 5 knots) is approximately 1 hour but you should give yourself some extra time due to currents.

From the Bay

The channel from Saint John Harbour to the Falls is well marked and easy to navigate.

Market Slip is the normal holding place for those waiting to traverse the falls. From market slip the distance is approximately 2.4km and you should give yourself 1/2 hour to get to the Falls from the Slip.

Market Slip is a very nice docking area but you should avoid staying here overnight as it is also very uncomfortable in a southerly swell.


Holding areas

On either side of the Falls there are easy staging areas where you can wait for the slack tide. Both are very close to the rapids, so you can see the current water state, but they are calm. The following map shows the general holding areas in green.


Traversing

Once slack has arrived you can enter the falls. I would keep a reasonable speed (4-5kn) through the rapids since there is still a lot of turbulence. 

Watch for debris and logs in the rapids as they tend to get caught in the whirlpools and eddies. 

You should review the cruising guides for more information on traversing the falls safely.


There is some information in the cruising books about the Reversing Falls but not a lot of information online.I would appreciate comments from experienced sailors in the area so that I can add to this reference and make it as useful as possible for newbies. Please comment below or email me with suggestions for useful information.

Friday, June 27, 2014

Friday, June 20, 2014

Reversing Falls Slack Tide Traversal Times

Here is an easy reference for determining when the approximate time is for slack tide at Reversing Falls on the Saint John River. Slack time provides an approximately 20 minute window for traversing the passage.

These times are based on:
  • Low slack, add 3 hours and 50 minutes to low tide
  • High slack, add 2 hours and 25 minutes to high tide
The source tide data is from: http://www.waterlevels.gc.ca/eng/data/table/2015/wlev_ref/65

Transit times are current local time with DST applied.

You can download an offline copy of this spreadsheet here.


Actual times will depend on the current river water levels but this will give you a close guide. You should review the cruising guides for more information on traversing the falls safely and to confirm calculations.


Monday, June 9, 2014

New prop

Indigo Propeller
According to the specifications, the Atomic 4 should have a cruising RPM of 1900 and a wide open RPM of 2400. Apparently most people have too large a propeller and too low of an RPM. My problem was the opposite.

My cruising RPM was 3200 at 5 knots and if I wanted to get to 5.5kn I would be pushing 3500 RPM. While this RPM is still within the tolerances for the engine, it created a lot of unnecessary noise and vibration.

My old prop was a two blade 12x6 and it was undersized. I'm sure this helped a bit in my club racing since it had lower drag, and it was tolerable for cruising under power but it was an issue fighting heavy currents large waves. A sketchy trip through Letete Passage last year (yes, at the wrong tide...) confirmed my need for more available speed.

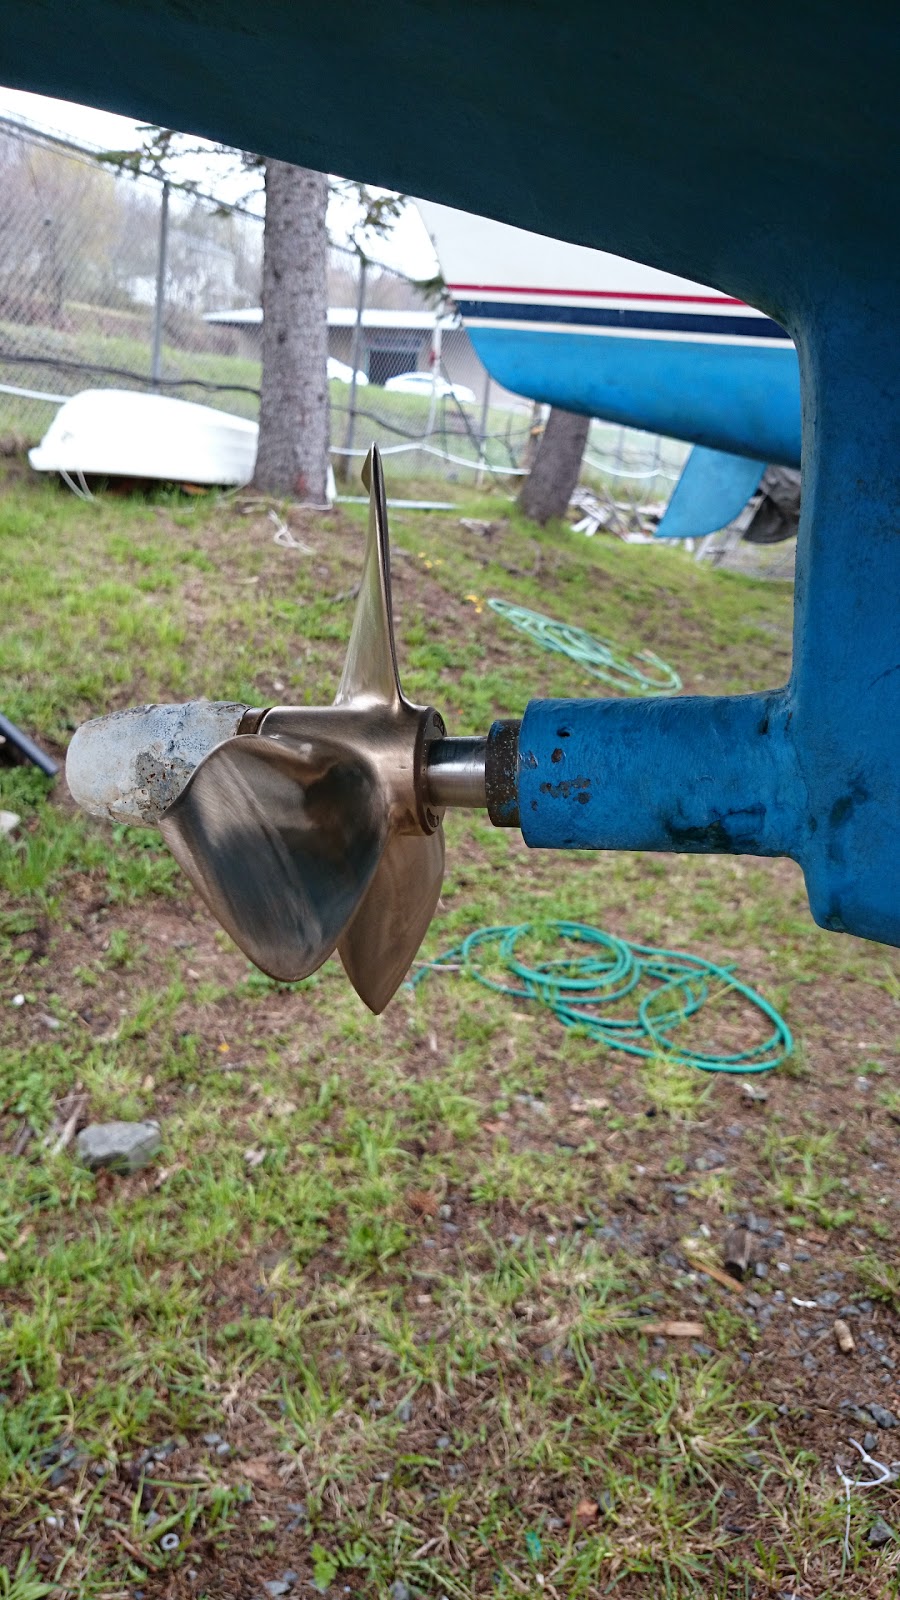
Indigo PropellerAfter a recommendation from Bill on Lady Hamilton I picked up a prop from Indigo Electronics. Indigo was very easy to deal with and were quick sending out the prop. The prop is a three blade 10x7.4 and seems to be of high quality.

After finally launching this weekend I was happy to test out the prop and see the results. My cruising RPM is now at 2600, at 5kn. This is still a little higher than desired, but much better.


Tuesday, May 27, 2014

Dehydrated Spaghetti Sauce

Dehydrated spaghetti sauce is super easy to make and is great for backpacking trips or any situations where space and weight are a concern. 

This works best if you use less chunky sauces since the chunks are more difficult to dehydrate thoroughly. I used Catelli Sauce this time. Of course homemade sauce would be great, if you are into that, but I usually think of preparing this stuff the night before I'm leaving. 

Dehydration

Dehydrator with spaghetti sauce
1 jar of sauce on 4 trays
  •  Cover your dehydrator with parchment paper. Make sure there is still airflow.
  • Spread an even amount of spaghetti sauce around the tray. It should be less 5mm thick.
  • Dehydrate for 7 - 10 hours. You will know that it is done when it is completely dry and the consistency of a fruit roll-up. 
  • Peel the sauce off the tray and let cool
  • Pack in an air tight bag

Spaghetti Frisbee 

Use

To use the spaghetti sauce simply add a bit of water and heat. Add water a bit at a time until it is the proper consistency. 

For backpacking, where fuel is a concern, I find that capellini (angel hair) pasta works best since it cooks quickly.

Tuesday, May 20, 2014

Building a new tiller

The tiller on Salammbo was looking pretty decrepit and it was time for either a refinish or a rebuild. Since the tiller had already been fixed at least once in the past, and wasn't looking great, I decided to go new. I also had some nice 1 1/4" thick white ash available from a paddle making project my Scout group did a few years back that I knew would look great as a tiller handle. White ash is strong and durable. 

  • The first step was to simply trace my old rudder onto the stock. I liked the existing rudder feel so have no need to change the shape. 

Tracing the tiller
Tracing the tiller

  • Cut out the rough shape with a jig saw. 

Rough cut tiller
Rough cut tiller
Rough cut tiller

  • I used an aggressive rasp to remove the bulk of the material. A less aggressive file tuned up the shape.
Rasp shaped tiller
Rasp shaped tiller

  • I used a power sander with 60 grit paper to smooth out the rasp marks and followed that up with 120 grit and then 220 grit.


Finished tiller
Finished tiller


Tuesday, April 22, 2014

Atomic 4 rebuild - Head removal

Atomic 4 head - bolts out
 As a non-mechanic, removing the Atomic 4 head had a very high nifty-factor. This is my first glimpse into the belly of the beast!

Removal of the head was somewhat difficult. There may be a better way to do it than mine!

I attempted to remove the remaining twelve nuts holding on the head. Only about half of the nuts came off easily. The other half brought the studs (threaded on both sides) with them because they were seized on.

Atomic 4 head - Half off

My plan, once I have more stripped off, is to take the block to an engine mechanic for some general advice on whether to extract those remaining pins and how to generally proceed.


The head was difficult to remove because of the remaining pins. I had to pry around the edge with a large screwdriver (trying not to damage the head surface) and then I used a wooden block placed under the thermostat housing to beat the head upwards. As I said, there is probably a better way to do this!

Atomic 4 - Headless
Atomic 4 - Headless
There are two gaskets, both of which were destroyed in the removal. I had planned on replacing them anyways though.

Since the engine is seized, from many years of not being used, I took the opportunity to thoroughly soak the top of the pistons with WD40 to try to get things moving again.

Atomic 4 head - off
Atomic 4 head - off

[All of the posts associated with this rebuild are available under the search label Atomic 4 Rebuild.]

Tuesday, March 11, 2014

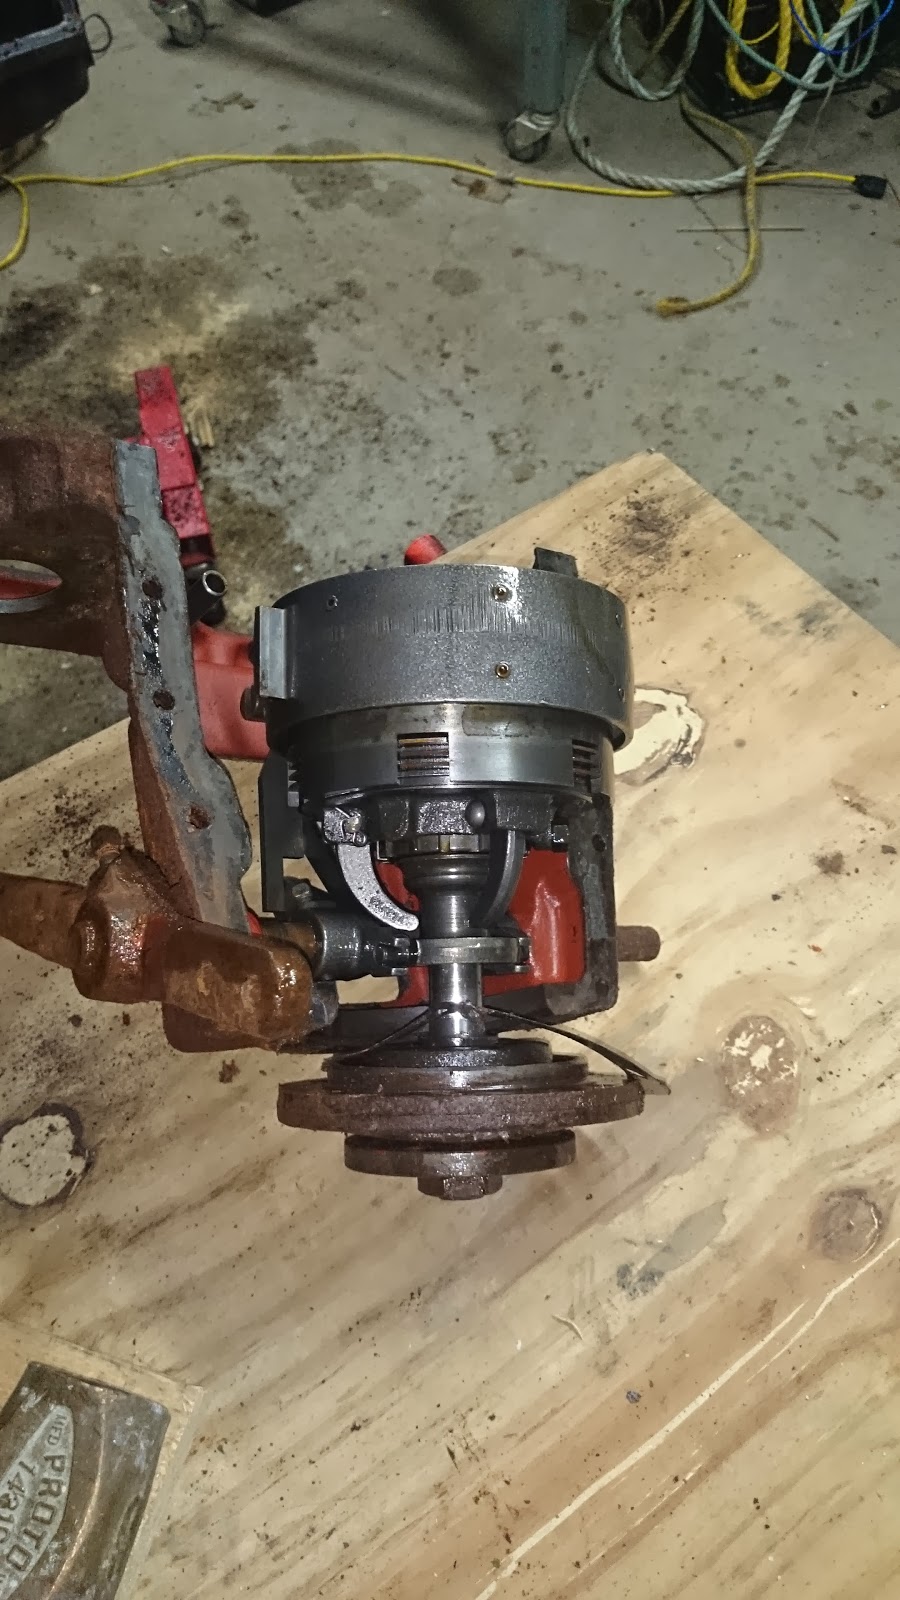
Atomic 4 Rebuild - Transmission cover and housing - Part 1

Atomic 4 Transmission - Pre-dissasembly
Transmission - Pre-dissasembly

Removing the transmission cover and housing was a bit of a challenge...and continues to be.  I also don't think that I did it correctly. Hopefully I didn't cause myself grief down the road when I try to put things back together.

I removed the four 3/4" bolts (1/2") holding the transmission cover, exposing the transmission.

Atomic 4 transmission with Cover plate removed
Cover plate removed
I the removed the thrust bearing (the round plate at the back of the transmission). This is held on my six 1" long bolts (1/2").

Rear of transmission before removal

I have since discovered that I should have first removed the tail shaft nut first.

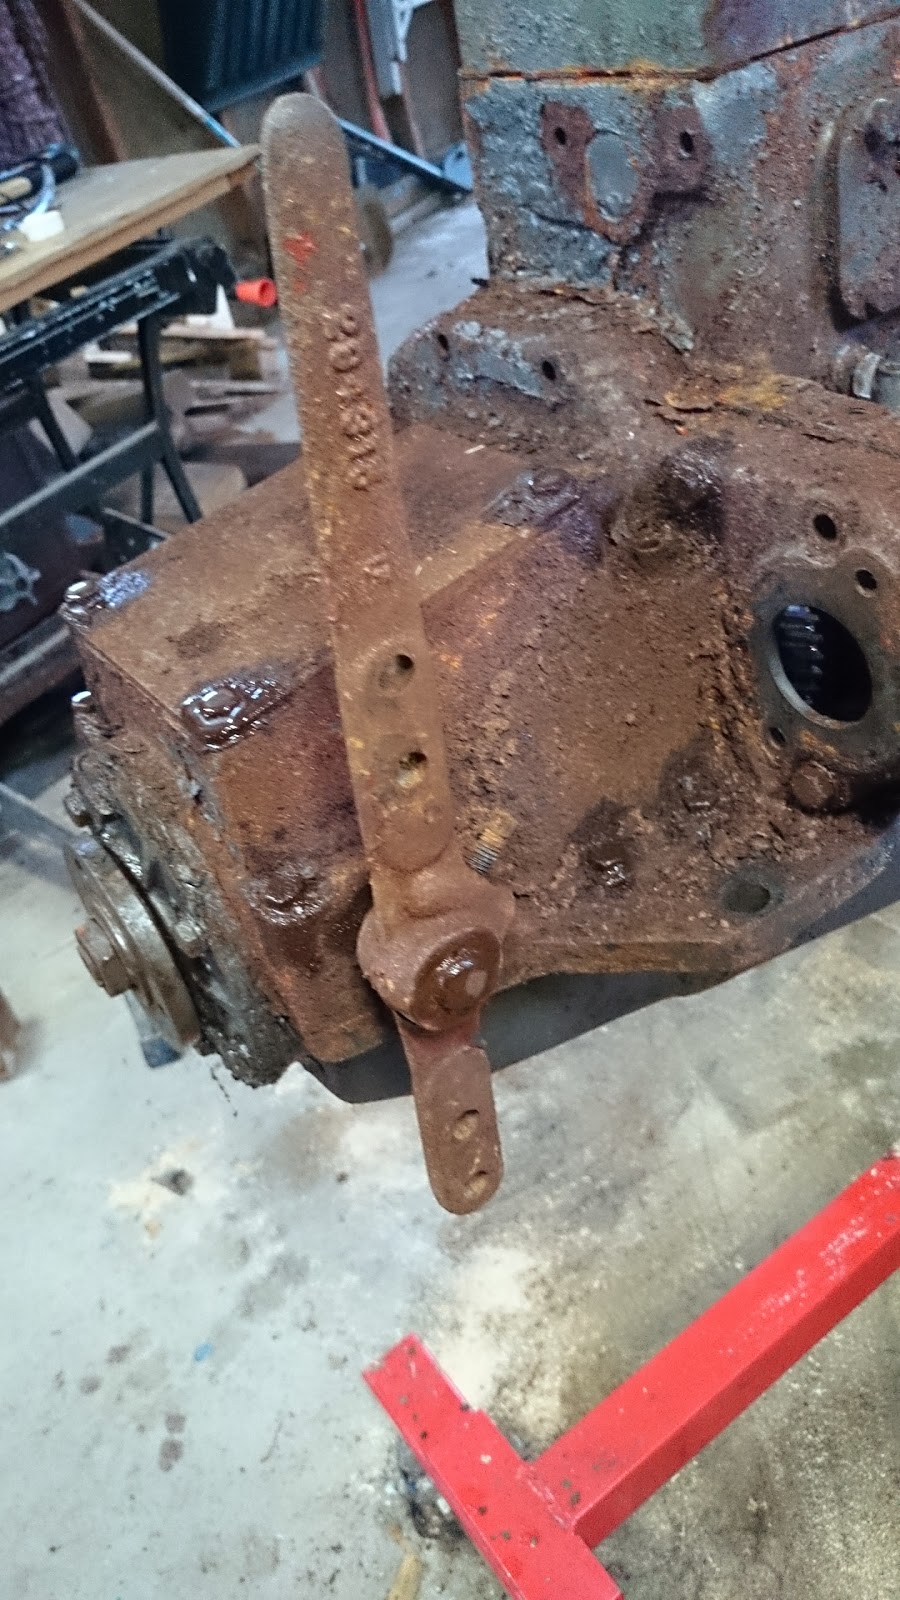
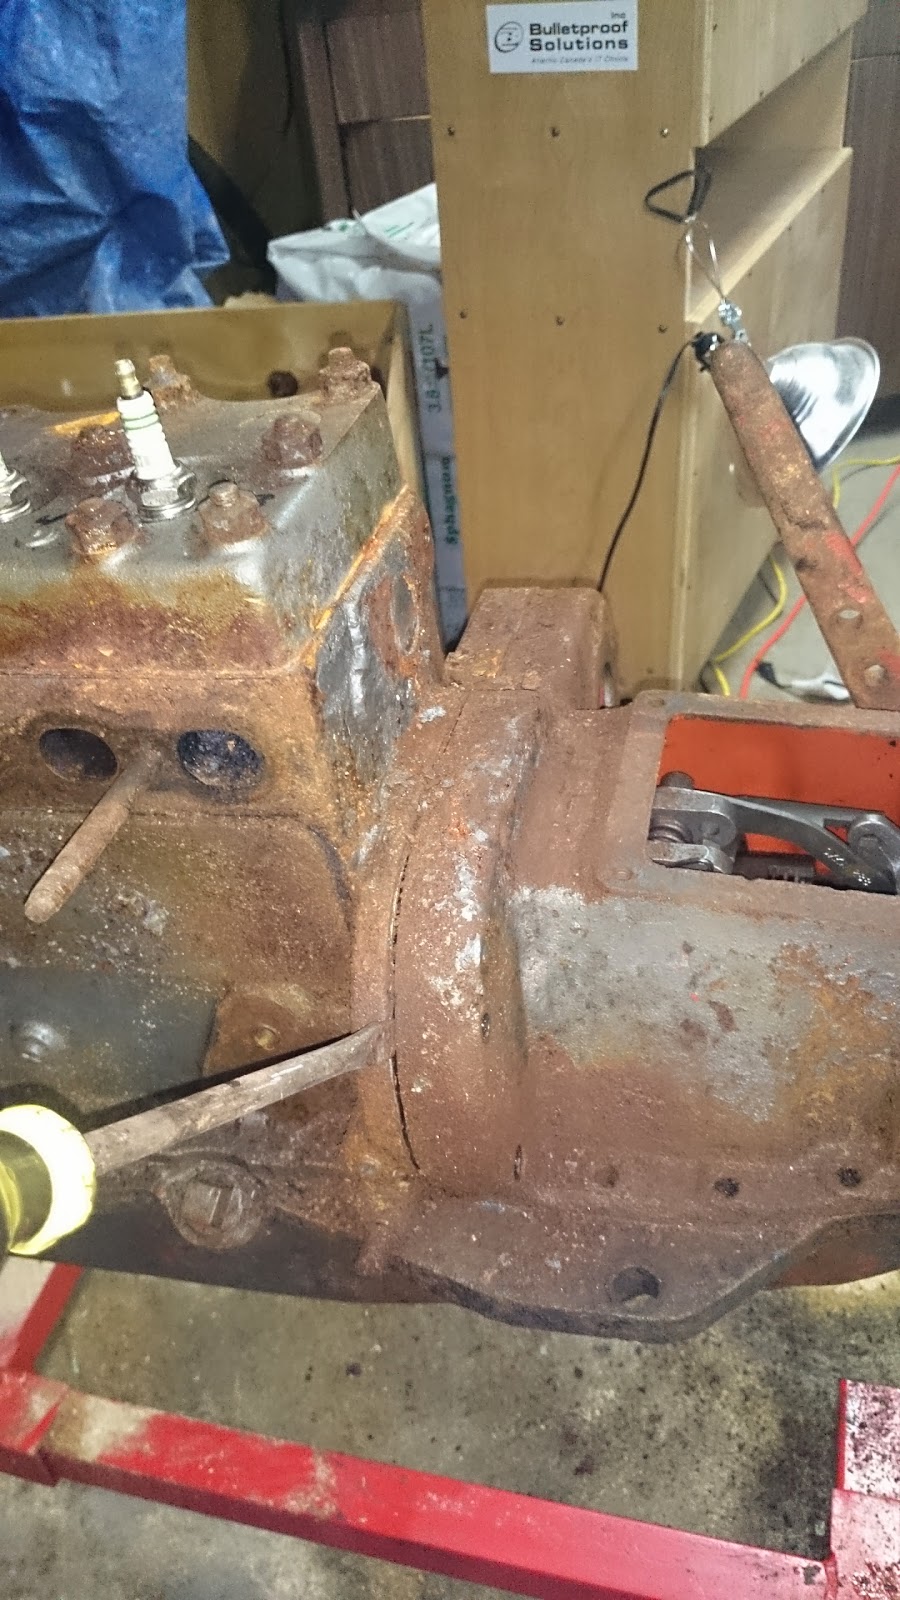
Removing the transmission housing was difficult, as it was securely stuck by gasket goop and decades of rust.

I first removed the ten bolts holding it in place. These include four 1 7/8" (1/2"), two 2 5/8" (1/2"), and six 3/4" (1/2").

I was apprehensive about beating too hard on any particular piece because I wasn't sure how solid they were. In the end I used a knife, large screw driver and hammer to poke, pry and beat the housing until it dislodged. No damage done. (except the gasket)

Atomic 4 transmission housing prying offAtomic 4 transmission housing prying off


Removing that nut is now much more difficult (I haven't actually figured out how to do that yet) since the nut spins on the bearing (surprise surprise).

I thought it would be easier to find something to pry on once I removed the whole housing and transmission. Not so much...

Atomic 4 transmission housing and transmission removed
Housing and transmission removed together
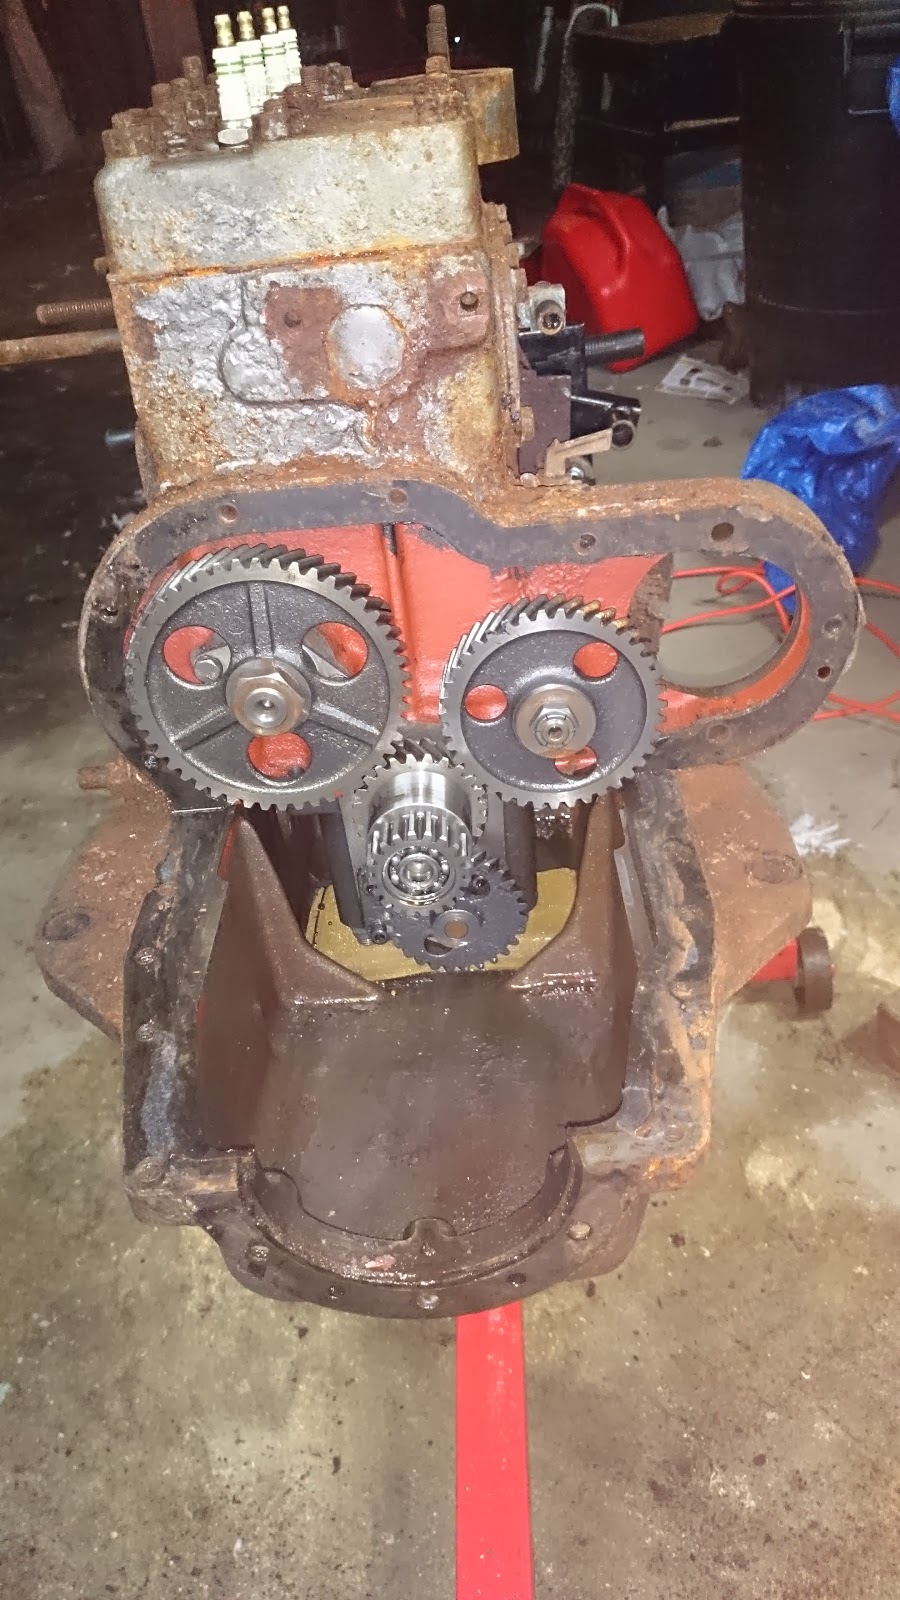
Here is the finished product.
Atomic 4 without transmission

[All of the posts associated with this rebuild are available under the search label Atomic 4 Rebuild.]


Sunday, February 23, 2014

Atomic 4 rebuild - Engine stand attachment

750lb engine stand
750lb engine stand

The Atomic 4 that I am rebuilding came on a nice wooden crate mount. This has been working well for my work so far. However, I found a 750lb engine stand on Kijiji for $40 and couldn't resist picking it up. 

I quickly realized, however, that these engine stands are made for larger engines and it would be a little tricky getting the Atomic 4 to attach to the stand. The attachment arms on the stand do not adjust close enough to align with the holes in the Atomic 4. 

First things first, the Atomic 4 attaches to an engine stand on the front of the engine. You must first remove the flywheel and flywheel housing. 

Use four of the holes from the flywheel housing to attach the engine stand mounting bracket.
Holes for mounting bracket

As I mentioned above, the adjustment arms on the stand do not go small enough to line up with each of these holes. Only two of the holes will line up. Another problem is that the adjustment arms are too close to the flywheel bolts. 

To get around this I cut four pieces of 3/8" threaded rod, 5" long, and used a nut on either side of the hole to secure the rod to the engine. 


Threaded rod for attaching bracket


 I then drilled 2 holes in the bracket plate itself, rather than using the top two arms. So, two rods into two of the arms and the other two into the bracket plate itself.


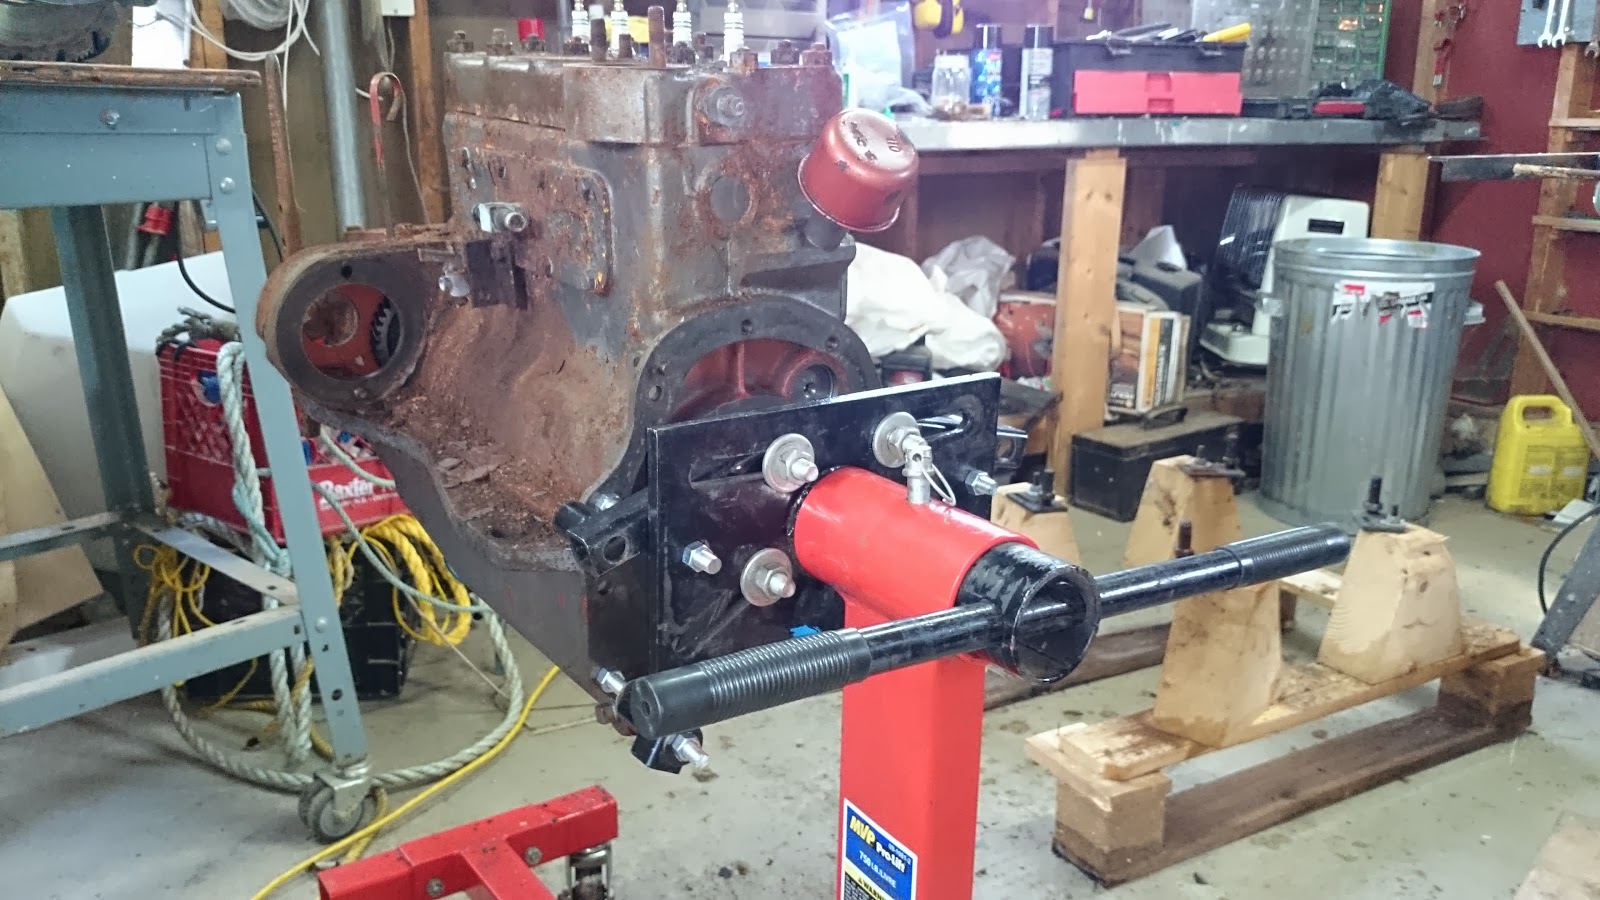
Mounting bracket attached

The engine is relatively light with many of the accessory parts removed. My son and I were able to lift it onto the stand without a block and tackle.


Atomic 4 on engine stand

I learned, during the lift process, that there was way more oil left in the engine that I had thought. I recommend having plenty of sawdust handy...

[All of the posts associated with this rebuild are available under the search label Atomic 4 Rebuild.]

Sunday, February 16, 2014

Atomic 4 rebuild - removing flywheel housing


Atomic 4 flywheel cover
The flywheel cover is held on by nine 1" (9/16") bolts around the perimeter on the back side of the cover, each has a lock washer. There are also 2 similar bolts on the top front of the cover.

All except the bottom two are easy to get at and remove. Those I couldn't get at with a socket but was able to eventually free with a short wrench. Removing two of the boards from the bottom of the wooden stand made the job somewhat easier.

The cover is also held in place with several alignment studs. A rubber or wooden mallet can be used to tap the cover off once the bolts are removed.

Have a container ready when you take the cover off because you will lose some oil.

[All of the posts associated with this rebuild are available under the search label Atomic 4 Rebuild.]

Atomic 4 flywheel cover removed