Friday, May 11, 2012

Composting Toilet Installation

Installation of the composting toilet itself is pretty straight forward. Much more effort was required removing the old toilet and adjusting the floor than was required for the actual installation of the toilet.

    Remove the existing toilet system parts, including:

    • Holding tank
    • Holding tank pump piping
    • Y-valve
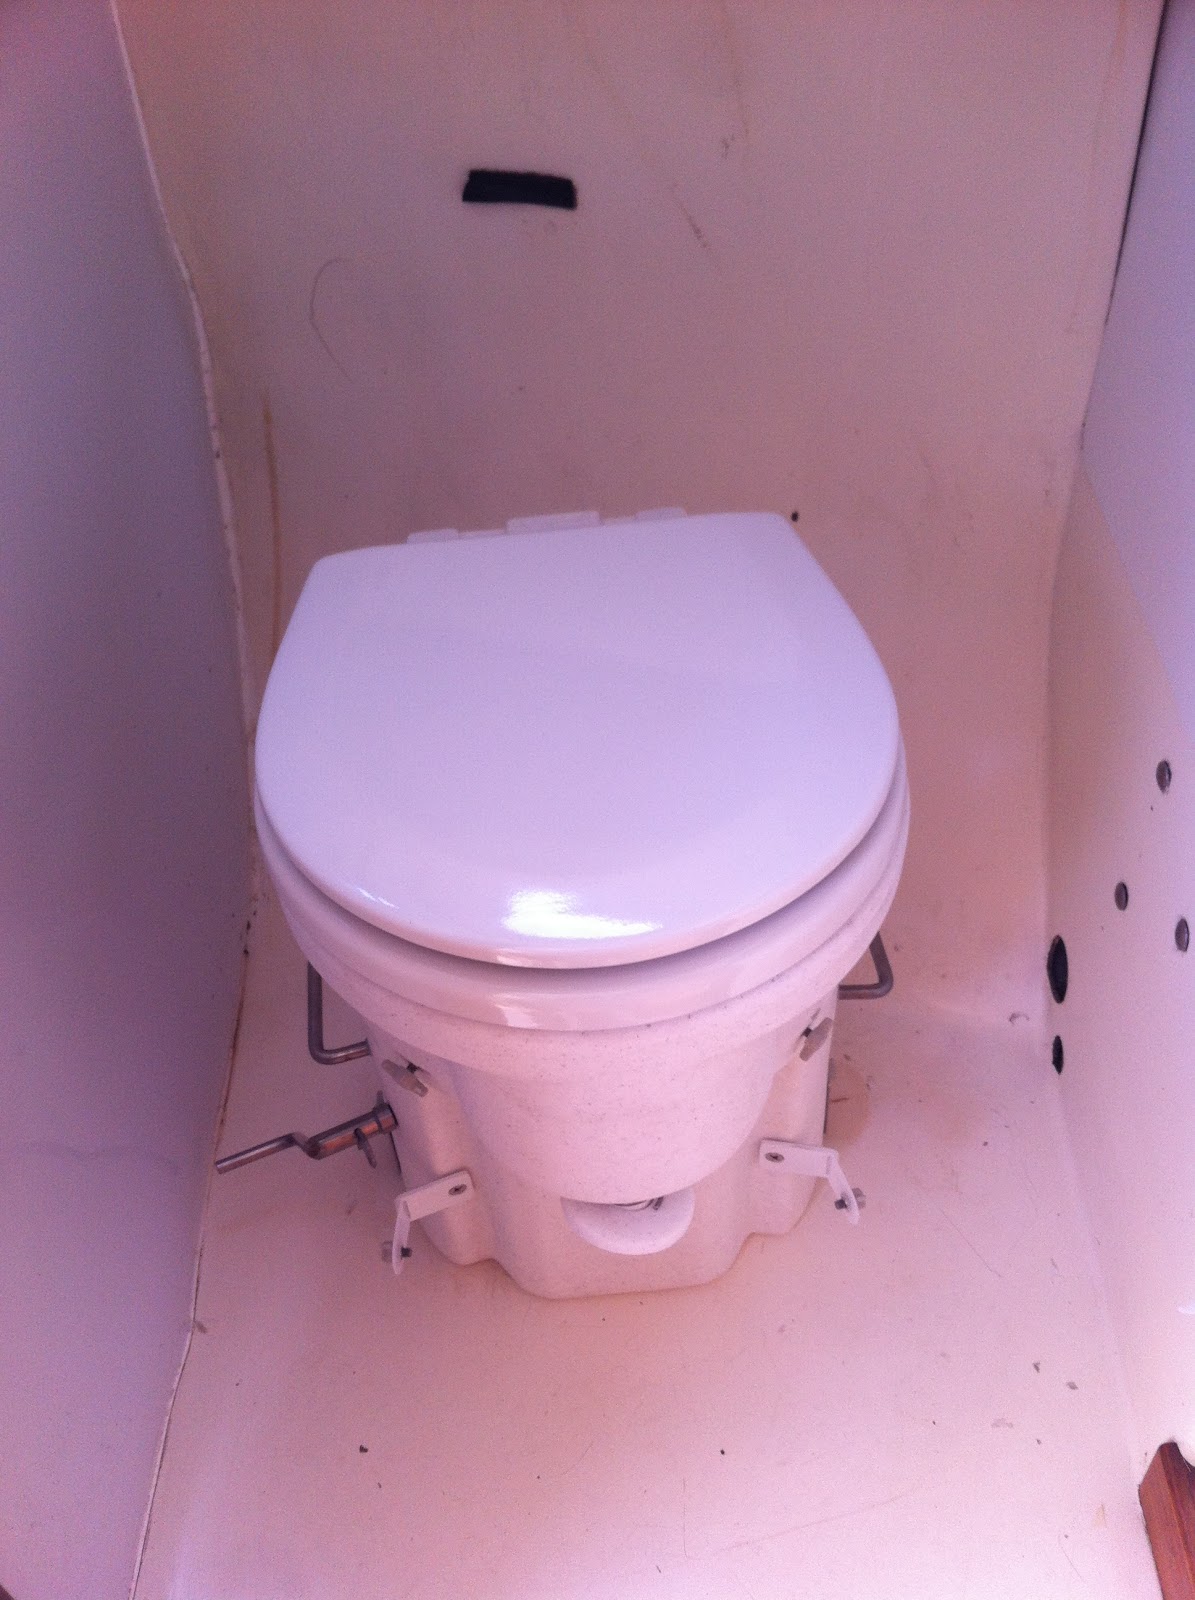
    • Toilet and piping. Removing the toilet itself proved most difficult since the bolts holding it in place were stripped. A hacksaw was the final solution.

    Test fit
    Test fit the Airhead toilet. The back few inches of my head has a significant sloped area. This greatly reduces the working area of the toilet. After test fitting I decided to add a raised floor so that I could get the maximum front-to-back clearance.


     Make raised floor.
    I made the raised floor out of 1/2" plywood, cut to shape using a cardboard template and supported by 1x3 spruce boards. I stained and varnished the floor to match the rest of my bright-work. I used brass L-brackets to hold the raised floor in place. This will allow for easy removal if I need to get access below.

    Install Airhead unit. The toilet unit itself is literally as easy as screwing in 4 screws into the two brackets.
    Installed with raised floor

    Install air fan. I have an existing cowl vent into the bathroom. I simply screwed the fan assembly on top of the existing vent whole.
    Fan assembly attached to cowl vent

    Run vent hose. I used 6 feet of vent hose and simply attached it to the wall with 1 1/2" plastic pipe brackets. Once the pipe is tucked in properly it isn't as ugly as I expected.

    Run wiring.  I used standard 14 gauge wire (overkill I think) to wire directly from the fan to my auxiliary battery. I have two medium sized solar panels that keep up the charge on the battery. I don't even notice the load of the vent fan on my electrical. 

    Test run! I will update later with my production review of the toilet.

    Wednesday, May 2, 2012

    PVC Pipe Winter Boat Cover Frame


    After several years of mediocre success covering my boat with a traditional wooden boat cover frame, last fall I decided to change it out for a frame made from PVC pipe. Now that it is spring and the frame and cover have survived the winter flawlessly I figure I should share my design.

    I decided to use 1 1/2" PVC pipe since it is only a little more expensive but much sturdier than 1 1/4" pipe. I also made the arbitrary decision to space my supports at 3'.


    1. Determine the number of supports by dividing your boat length by 3. 
    2. Take a width measurement at each support location.
    3. Use a Triangle Solver or some basic trig to determine the lengths of pipe required for each side given width and the angles (90 and 45 degrees).
    4. Cut the pipe to length
    5. You will also need to cut 3' lengths of pipe to go between each support and a length of pipe for each end.
    6. Make the top 90 degree connector
      1. I used a single 90d PVC female-female connector attached to a female-female straight connector with a machine screw.
      2. Drill a hole in the center of the 90 and straight connectors.
      3. Attach them together using a screw and nut.
      4. I also drilled holes close to the edge of each side of the straight connector to fasten the connector to the lateral support pieces.
    7. Glue the entire support structure and connectors together using PVC pipe glue.
    8. Assemble the whole thing together with pipe glue using the vertical supports and the 3' PVC pipe sections. Do NOT GLUE!
    9. Use additional screws to hold the 3' pipe sections into the connectors.
    10. Cover the connectors with foam to prevent tarp chaffing. 
    11. Use tie-wraps to secure the frame to lifelines or whatever else you have that is sturdy.

    This whole project took approximately 2 hours once I had the design figured out. Assembly took approximately 30 minutes. That is a far cry from the hours that my previous wooden structure took to assemble.

    The slope of the frame seemed sufficient to keep snow from piling up on top. I didn't have to shovel it at all through the winter.