Sunday, February 23, 2014

Atomic 4 rebuild - Engine stand attachment

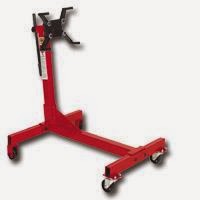
750lb engine stand
750lb engine stand

The Atomic 4 that I am rebuilding came on a nice wooden crate mount. This has been working well for my work so far. However, I found a 750lb engine stand on Kijiji for $40 and couldn't resist picking it up. 

I quickly realized, however, that these engine stands are made for larger engines and it would be a little tricky getting the Atomic 4 to attach to the stand. The attachment arms on the stand do not adjust close enough to align with the holes in the Atomic 4. 

First things first, the Atomic 4 attaches to an engine stand on the front of the engine. You must first remove the flywheel and flywheel housing. 

Use four of the holes from the flywheel housing to attach the engine stand mounting bracket.
Holes for mounting bracket

As I mentioned above, the adjustment arms on the stand do not go small enough to line up with each of these holes. Only two of the holes will line up. Another problem is that the adjustment arms are too close to the flywheel bolts. 

To get around this I cut four pieces of 3/8" threaded rod, 5" long, and used a nut on either side of the hole to secure the rod to the engine. 


Threaded rod for attaching bracket


 I then drilled 2 holes in the bracket plate itself, rather than using the top two arms. So, two rods into two of the arms and the other two into the bracket plate itself.


Mounting bracket attached

The engine is relatively light with many of the accessory parts removed. My son and I were able to lift it onto the stand without a block and tackle.
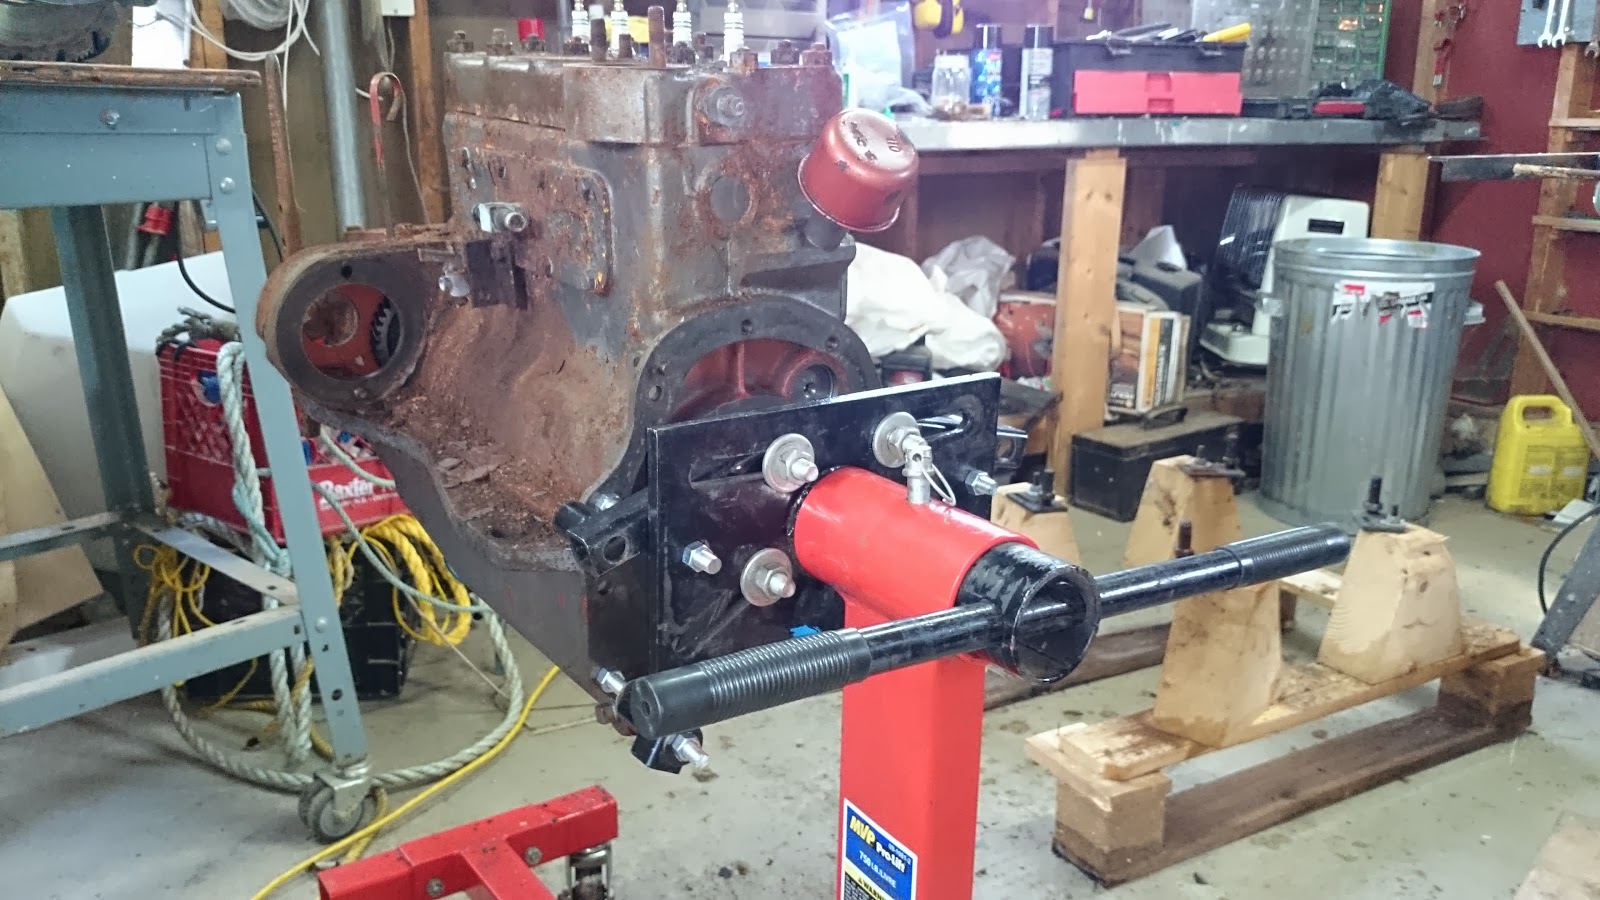

Atomic 4 on engine stand

I learned, during the lift process, that there was way more oil left in the engine that I had thought. I recommend having plenty of sawdust handy...

[All of the posts associated with this rebuild are available under the search label Atomic 4 Rebuild.]

Sunday, February 16, 2014

Atomic 4 rebuild - removing flywheel housing


Atomic 4 flywheel cover
The flywheel cover is held on by nine 1" (9/16") bolts around the perimeter on the back side of the cover, each has a lock washer. There are also 2 similar bolts on the top front of the cover.

All except the bottom two are easy to get at and remove. Those I couldn't get at with a socket but was able to eventually free with a short wrench. Removing two of the boards from the bottom of the wooden stand made the job somewhat easier.

The cover is also held in place with several alignment studs. A rubber or wooden mallet can be used to tap the cover off once the bolts are removed.

Have a container ready when you take the cover off because you will lose some oil.

[All of the posts associated with this rebuild are available under the search label Atomic 4 Rebuild.]

Atomic 4 flywheel cover removed