Monday, December 16, 2013

Atomic 4 rebuild - Removing coil and distributor

I am continuing to remove the miscellaneous pieces from the outside of the engine. I have started making detailed labels and notes and pictures for each piece that I am removing since I am not comfortable yet in my ability to remember where things should go and what fasteners are needed. I have been grouping like-parts into large ziplock baggies and organizing these in order. So far this has minimized the chaos of miscellaneous bits and pieces in my [cluttered] garage. 

  • Labelled, and removed ignition wiring. I left the spark plugs in for now since they provide some protection from grime and they aren't in the way. 
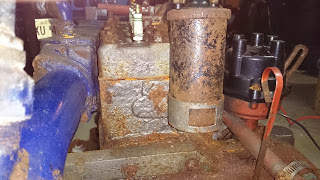
  • Removed the coil from the back side of the engine. Two 1/2" bolts hold the coil bracket in place. One was missing. I will need to re-tap the corroded thread of the missing bolt before re-assembly. 
Atomic 4 Ignition coil
Ignition coil
  • Removed the distributor cap. Both screws will need to be replaced.
Atomic 4 distributor
Distributor without cap
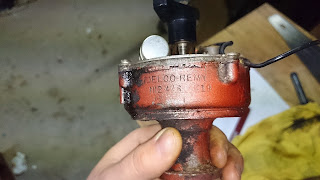
  • Removed the distributor. There is a bracket midway up on the distributor that holds it in place. Once the bracket is removed (single 1/2" bolt) it slides easily out. The distributor on my engine is the Delco variety, as opposed to the pre-1969 Prestolite ones. 


    Delco Distributor
    Delco Distributor 

    Delco Distributor
    Delco Distributor with bracket

[All of the posts associated with this rebuild will be available under the search label Atomic 4 Rebuild.]

No comments:

Post a Comment

I appreciate your feedback, comments and other helpful input.